Mount St. Helens
We have heard stories about Mount St. Helens since we were kids because the 1980 volcanic eruption was one of the largest and most destructive in recent history. Since moving to Washington, we’ve had many people recommend that we drive down three hours and do the hike to the Mount St. Helens summit. Once we had a free weekend, we decided to look into making this hike happen, but we soon found out that you need a permit for this hike, as they only allow 100 people to hike to the rim above the tree line each day. The permits all sell out in February when they are released by the official Mount St. Helens Institute website. We were bummed at first until we read further on about obtaining the permits and found a third-party website, purmit.com. This is a platform for permit holders to sell their permits (of any kind it looks like) if something came up, making them unable to hike on the day they bought the permit for. We checked out this site a few days before our desired hiking date and found a guy looking to sell two Mount St. Helens permits for the upcoming weekend. After a few emails, we had the permits in our hands for face value ($22). This was a great snag, as the weather this past weekend (60 and sunny with no clouds) was perfect for this hike!
Climber's Bivouac Trailhead
There are two trailhead options for summiting Mount St. Helens: Climber’s Bivouac where Ptarmigan Trail begins (summer route) or Marble Mountain Sno-Park where the Worm Flows Climbing Route begins (winter route). We did our research and found out it hadn’t snowed much in this area yet, so the summer route was the best way to go. You need a permit through October for the Climber’s Bivouac, and then it sounds like in November the winter routes and parking lots open.
Camping at the Trailhead
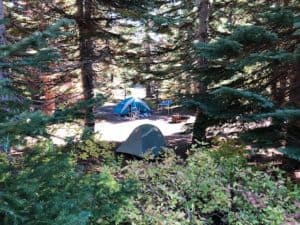
We drove to the Climber’s Bivouac Trailhead after work on Friday night, arriving around 11:00 p.m. This is a National Monument, so you can use your National Park Pass (that we highly recommend – only $80/year for adults) and make sure to place it on your dashboard when you park at the Climber’s Bivouac Trailhead. There are several campsites right near the trailhead and most people are friendly enough to share, so you should be able to bank on finding a place to pitch your tent. There is a bathroom at the trailhead/campground too, with the only other toilet house being two miles into the hike.
A glimpse at the campsites available right at the Climber’s Bivouac Trailhead.
A glimpse at the campsites available right at the Climber’s Bivouac Trailhead.
Climber Registry
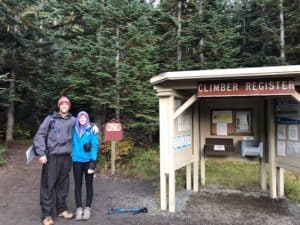
We woke up around 6:30 a.m., packed up our things, used the vault toilet at the trailhead, and stopped at the Climber Registry to check in (wrote our names, license plate number, and permit numbers in a 3-ring binder). Make sure to print your permit and put in a plastic bag. They have twisty ties at the registry you can use to then attach your permit to your pack. We weren’t stopped by any rangers, but we’ve heard they regularly patrol this trail to make sure everyone has a permit to go to the summit. Of note, there is not a water source at this trailhead, so bring plenty of your own water! We each drank about 2 L on this hike (and this was in 40-degree early morning weather).
Climbers Bivouac Trailhead
Mount St. Helens Summit via Ptarmigan Trail
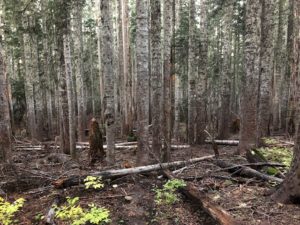
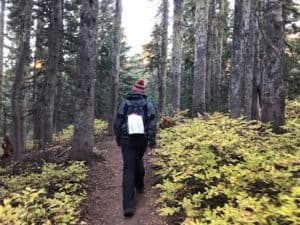
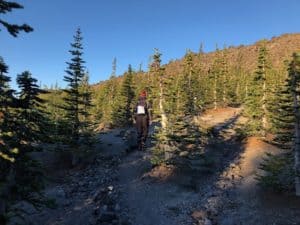
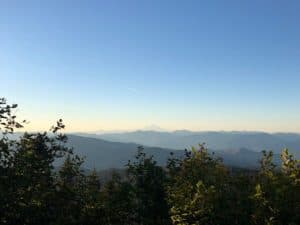
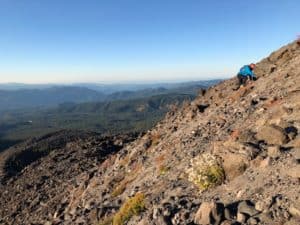
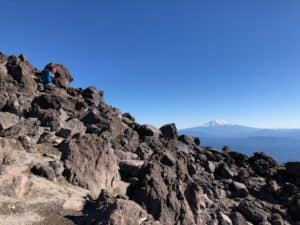
Finally, we started our hike at 7:20 a.m. The trail started out pretty easy- a nice trail through the forest. It was a different forest though because you can still see some of the destruction from the 1980 eruption, but then you also see some of the regrowth popping up. At some points, the trees are so new that we were almost as tall as some of them. Within the first two miles, you get to some openings providing views of Mount Hood and Mount Adams. At about 2.5 miles in, this is where the hike starts to get interesting. We were scampering up lava rocks and boulder fields for probably about a mile and then climbing up loose gravel/ash for the last mile or so. The loose ash near the top was very tiring because it’s like walking on the beach up a 45-degree incline mountain, losing a little bit of ground with every step you take. The boulder fields were easier going up than down just because you really have to watch your hand and foot placement when trying to control yourself down.
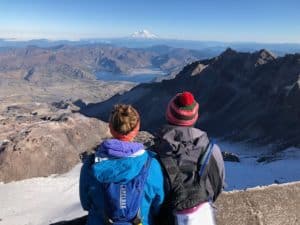
The elevation gain is ~4,500 ft for this climb, but the distance varies depending on what source you find. There are trail markers (blue diamonds and big wooden poles) spread out providing direction for you, but there are several off-shoot routes you can take to make your way up. Online sources post the distance of this hike ranging from 8.2-10.0 miles. Our Apple watches tracked about 9.5 miles. To give you an idea of how the intensity changes, our mile splits for the first two miles were about 22 minutes and then they doubled to about 45 minutes for the latter 2.5 miles of the hike up to the rim. Our total time to the top was 2 hours 50 minutes. We hung out on the rim and ate lunch for about 40 minutes, and then it took us about 2.5 hours to hike back down. Walking up to peer over the edge of the crater was a beautiful sight and possibly one of the best in Washington. You can see some steam coming out of the newly-forming lava dome in the middle of the volcano and you get a nice view of the newest glacier in the world. On this clear day, we were able to see Mount Rainier, Mount Adams, Mount Hood, and Mount Jefferson from the rim. We returned to the trailhead exactly six hours later at 1:20 p.m. Don’t forget to sign back in at the Climber Registry because the rangers check to make sure everyone returned, or they go searching for you.
The beginning of the Ptarmigan Trail revealing some of the leftover destruction after the 1980 eruption.
The trail revealed some new growth!
Many of the new trees were barely taller than us!
You start to get some good views within the first 2 miles!
After the relatively easy first 2.5 miles, the trail gets a bit steeper, requiring all fours at times.
Just chillin’ on the rim of Mount St. Helens crater!
Mount St. Helens summit on a beautiful day!
Scampering down the boulder fields while enjoying the view!
Lava Canyon
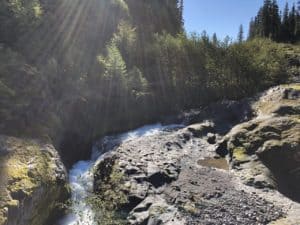
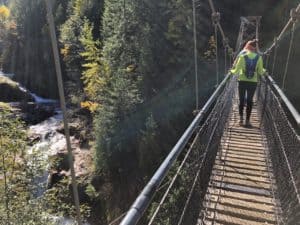
When we were driving to the Climber’s Bivouac the night before, we kept seeing signs for the Lava Canyon, about 12 miles east, so we decided to check this out in the early afternoon. Lava Canyon is a beautiful area, especially with all the fall colors at this time of year, and therefore it was the busiest spot we visited in the park. A quick-flowing river has created some neat looking waterfalls carving into the residual volcanic rock that once stormed down the mountain into the river valley. There are three options for trails here: easy, moderate, and hard. The easy path is mostly handicap accessible. In the interest of time, we did the moderate loop, with the highlight being walking over a suspension bridge. The “hard” hike brings on some elevation changes as it plunges you deeper into the canyon.
Lava Canyon
A suspension bridge with a stellar view of Lava Canyon!
Lava Canyon
A suspension bridge with a stellar view of Lava Canyon!
Ape Caves
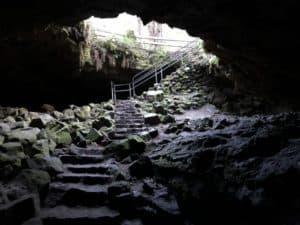
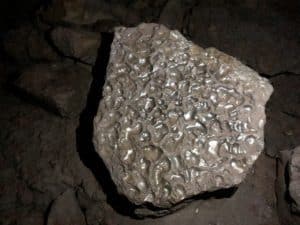
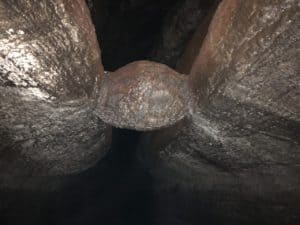
Following this brief 1.5-2-hour excursion, we then drove 10 miles SW to the Ape Caves. This is the longest lava tube in the continental U.S. at 2.5 miles and you can hike the whole thing! Be sure to bring a headlamp or flashlight, as it is pitch black once you get underground- and don’t forget something warm to wear because the temperature is consistently in the mid-40s. Once you enter the cave at the Ape Caves Trailhead, you have two options: a 1.5 mile out and back easy route down the lava tube or a 3.0 mile out and back rugged route the other direction up toward Mount St. Helens. We wanted to check out both, so we went the rugged direction (Upper Cave) for a bit first and then retraced our steps to the entrance and did the full Lower Cave. We stopped doing the Upper Cave portion quickly as it calls for hikers to scramble over 27 “house-sized” piles of lava rock, and our legs were kind of tired by this point. The coolest formation we found was “The Meatball.”
The Ape Caves: one of Mount St. Helens’ lava tubes!
Cool lava creations found in the Ape Caves
“The Meatball”
The Ape Caves: one of Mount St. Helens’ lava tubes!
Cool lava creations found in the Ape Caves
“The Meatball”
Portland
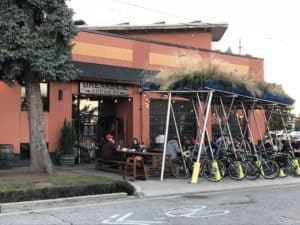
The closest big city to this Mount St. Helens area is Portland, so we decided to head there for the night. It takes about 1.5 hours to get from the park to downtown Portland. After this hiking filled day, we were ready for some warm food and cold beer. Our first stop was Breakside Brewery DEKUM where we each got a beer and a warm Bavarian pretzel for an appetizer. Our next stop was Hair of the Dog Brewing Company, where we got some hearty autumn dinner- 3 meat chili and brisket mac n’ cheese- and some great beer. They are mostly known for rich beers with high alcohol content at this brewery. Adam was pretty excited to see that one of their top brews was also called “Adam.” Our final stop of the night was at the southeast Salt & Straw, an organic, homemade ice cream shop with unique flavors. They are serving their October Spooktacular Series right now: we both sampled Creepy Crawly Critters (fresh green grass ice cream with real crickets in it), but our favorite flavor was The Great Candycopia (salted butterscotch ice cream filled with all sorts of chocolate candy bars)! After our brief exploration of Portland, it was time to find our Airbnb and crash for the night.
Breakside Brewery
Hair of the Dog Brewing Company
Salt & Straw: where you can get creative ice cream!
Breakside Brewery
Hair of the Dog Brewing Company
Salt & Straw: where you can get creative ice cream!
Multnomah Falls
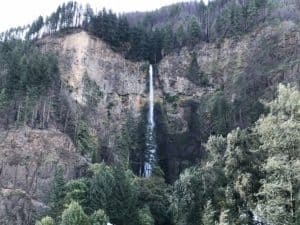
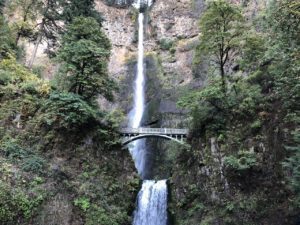
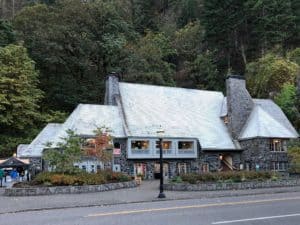
In the morning, we drove east of Portland for ~30 minutes to find Multnomah Falls. We were a little bit disappointed to find that you could see most of the waterfall from the highway, as this waterfall is consistently rated one of the top falls in the U.S. We find it more satisfying when you have to work for a good view, but it was still a very cool waterfall to see with easily accessible pathways. There are two levels: the upper falls is a 542 ft drop and the lower falls is a 69 ft drop. You used to be able to hike all the way up to the top of the falls, but due to a recent fire, it’s not safe to go past the Benson bridge. In fact, the Benson bridge just reopened at the end of June of this year. Feeling the mist from the upper falls on your face while standing on the bridge is still worth the quarter mile walk uphill. At the base of the falls is the Multnomah Falls Lodge which confusingly is not a lodge, but rather a restaurant and gift shop.
Multnomah Falls from afar
Multnomah Falls a bit closer
Multnomah Falls Lodge
Multnomah Falls from afar
Multnomah Falls a bit closer
Multnomah Falls Lodge
Mount St. Helens Visitor Center Castle Rock
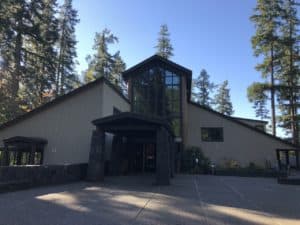
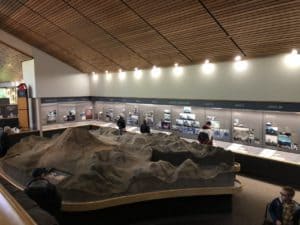
To break up our drive back to Silverdale, we stopped in Castle Rock (right off interstate 5) to check out one of the Mount St. Helens Visitor Centers. It was a little hazy that day, so we didn’t get a great view of Mount St. Helens in the distance, but it was very interesting to learn more about the geology and history of this active volcano. They play a 13-minute video every half an hour where they show the 1980 eruption before and after and it’s pretty crazy to watch!
Mount St. Helens Visitor Center in Castle Rock
A very well put together visitor center.
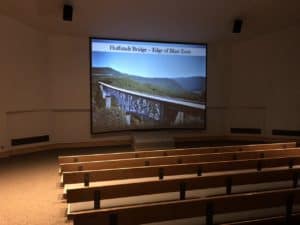
They play a video about Mount St. Helens every 30 minutes!
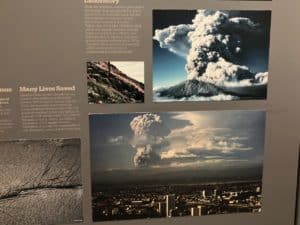
We found some crazy pictures of the 1980 eruption.
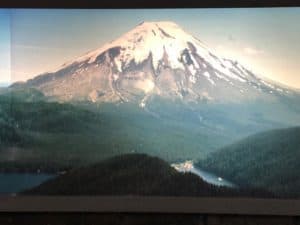
Mount St. Helen’s pre-eruption
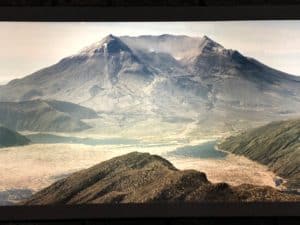
Mount St. Helens post-eruption
Mount St. Helens Visitor Center in Castle Rock
A very well put together visitor center.
They play a video about Mount St. Helens every 30 minutes!
We found some crazy pictures of the 1980 eruption.
Mount St. Helen’s pre-eruption
Mount St. Helens post-eruption
While we were possibly looking forward to a quiet weekend, this ended up being a fantastic adventure with truly perfect weather, and we had to take advantage.


Its like you read my mind! You seem to know a lot about this, like you
wrote the book in it or something. I think that you could do with some pics to drive the
message home a bit, but other than that,
this is magnificent blog. A great read. I will definitely be back.
I’m glad you enjoyed it! We will do our best to take even more pics in the future! Thanks for the feedback 🙂
Great post. I will be facing a few of these issues as well..
Really cool area to explore – enjoy!
Thanks for such a fascinating post, it’s offered me a lot to believe about.
Glad we could help – trying to get more people out exploring these awesome places!
Very quickly this site will be famous among all blog users,
due to it’s pleasant content